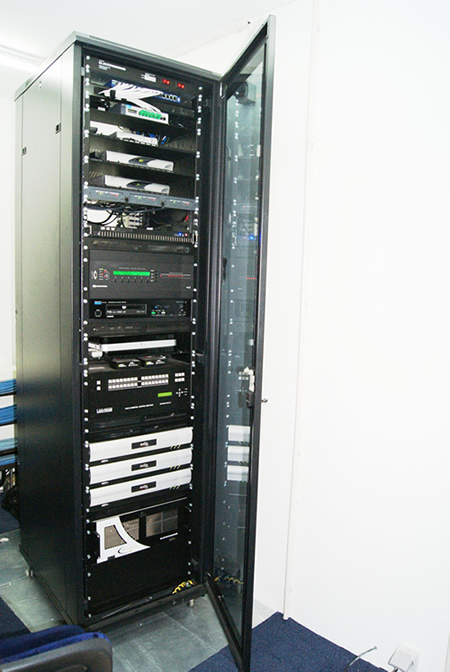
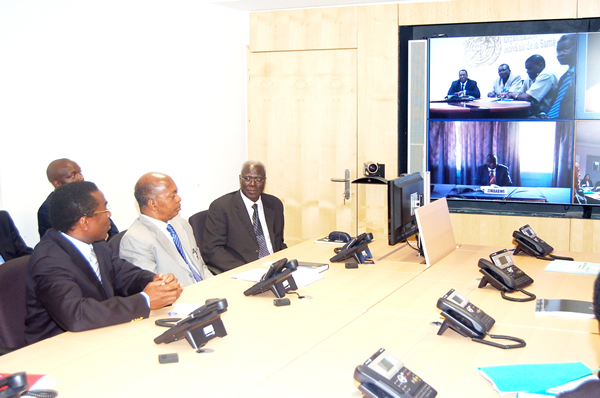
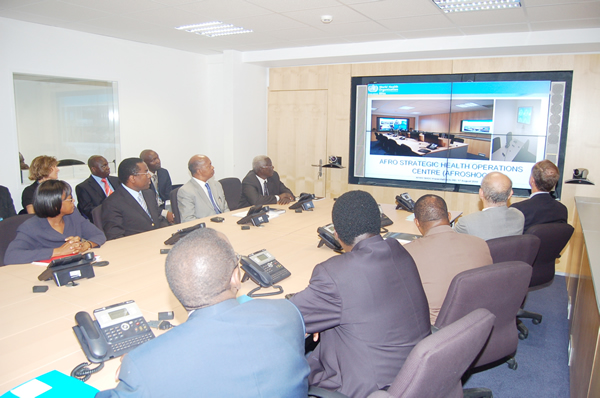
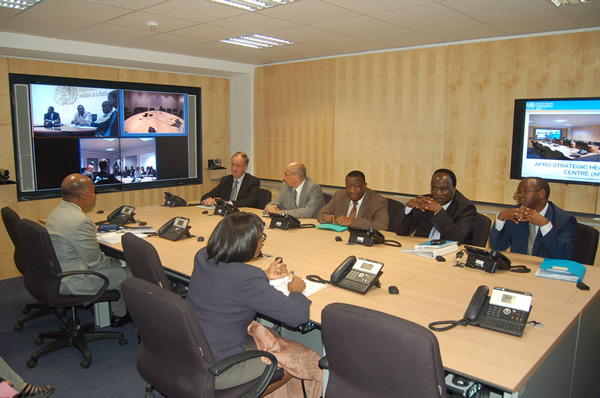
AFRO SHOC Room photo gallery
Above:
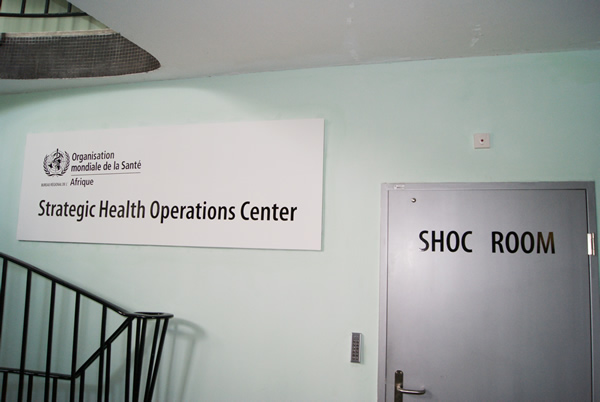
01 Gateway to the AFRO SHOC
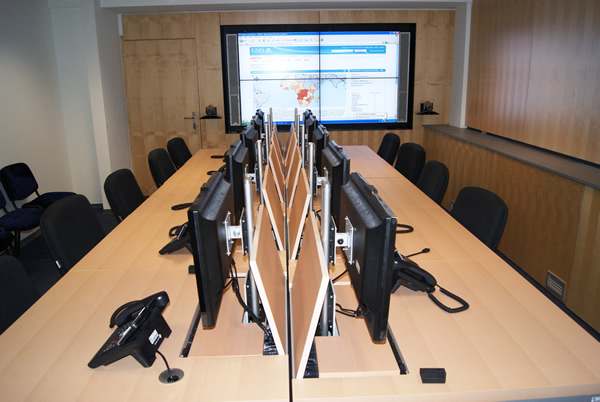
02 The Main Operations Room
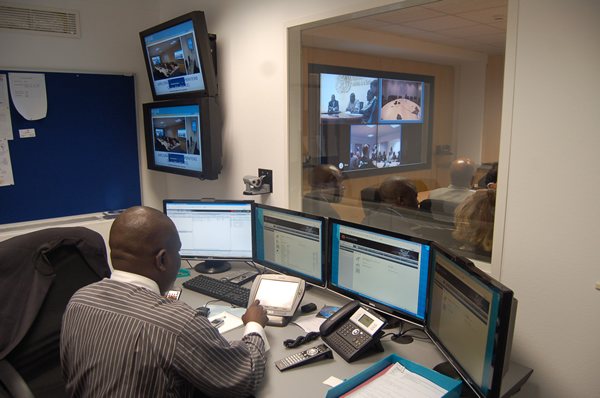
03 The Control Room
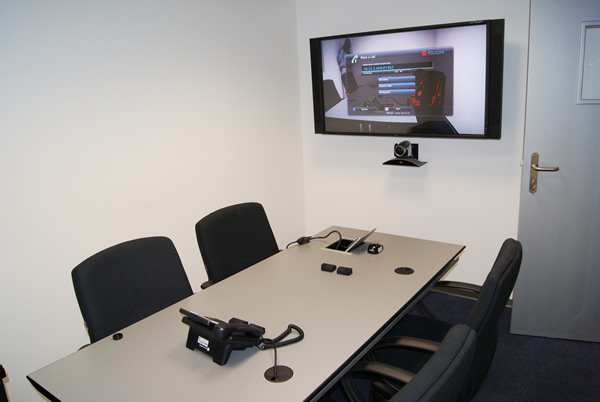
04 One of the Breakout Rooms
05 The Equipment Room
06 The Main Operations in session
07 The Main Operations Room in session
08 The Main Operations Room in session